
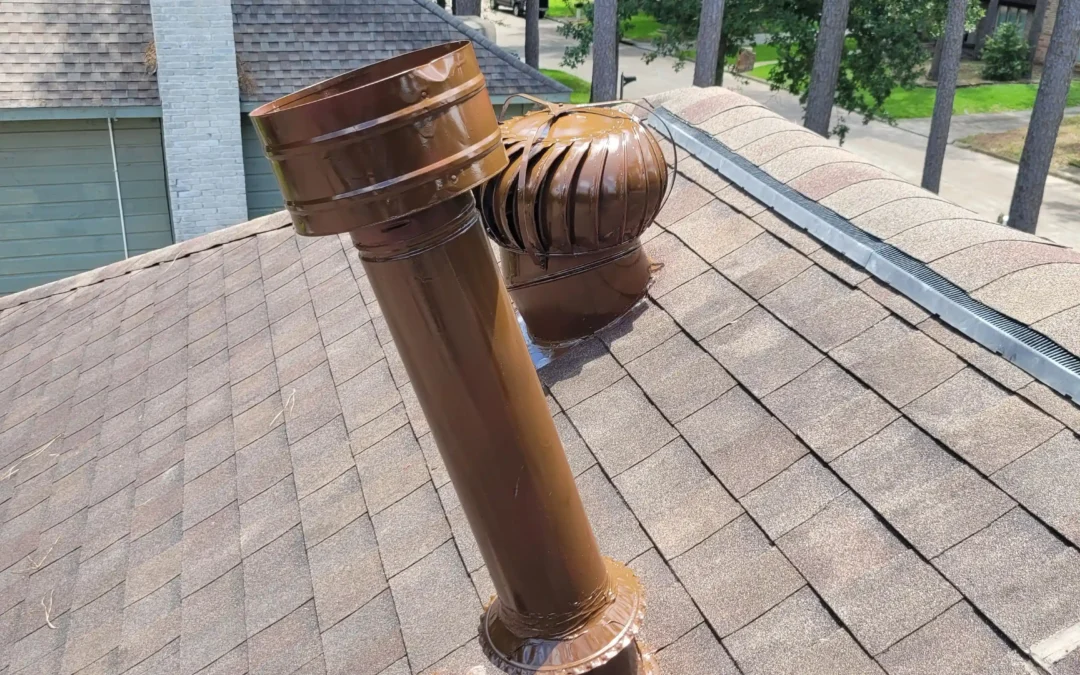
Roof flashing is the sheet-metal barrier that directs water away from vulnerable roof intersections, walls, chimneys, valleys, and penetrations. Even a gap as small as 1/16 inch or a separated sealant joint can allow capillary action and wind-driven rain behind the roofing system, potentially damaging decking, wall framing, and drywall long before the shingles themselves fail.
Understanding roof flashing problems matters because many leaks are not caused by worn-out shingles. They start where the roof changes direction, meets a vertical wall, or redirects concentrated runoff.
For Greater Houston homeowners, finding the exact failure point can mean the difference between a focused flashing correction and an unnecessary full roof replacement.
What Does Roof Flashing Actually Do?
Asphalt shingles are designed primarily to shed water downward across the roof surface.
Problems become more complicated where water encounters a chimney, wall, valley, dormer, or roof edge. Flashing creates overlapping drainage layers that redirect runoff back onto the roofing surface instead of allowing it to enter the structure.
Common flashing materials include:
- Galvanized steel
- Aluminum
- Copper
The correct material and installation method depend on the roof design, siding or masonry material, and location.
Unlike a bead of caulk, properly installed flashing works mechanically through gravity and overlap. Each layer directs water onto the layer below it.
That principle is critical when diagnosing a roof flashing leak.
The 4 Most Common Points of Flashing Failure
1. Step Flashing at Roof-to-Wall Transitions
Step flashing consists of individual L-shaped pieces installed where a sloped roof meets a vertical wall. Each piece overlaps the one below it and works together with the shingles and siding.
Step flashing problems can develop when fasteners back out, metal shifts, shingles are replaced incorrectly, or siding does not overlap the flashing properly.
Water can then travel behind the siding or house wrap and appear as a roof leak near wall surfaces several feet away from the actual opening.
2. Chimney Flashing
Chimneys usually require several flashing components working together:
- Apron flashing at the downhill side
- Step flashing along the sides
- Counter or cap flashing integrated into the masonry
- Back-pan or cricket details where applicable
Counter flashing may be inserted into a reglet joint cut into a masonry mortar joint.
Over time, mortar can deteriorate, metal can loosen, or previous repair material may separate. Water may then track behind the chimney flashing and appear as damp drywall, stains near a fireplace, or wet attic framing.
Proper chimney flashing repair requires identifying which layer has failed rather than simply covering the area with sealant.
3. Valley Flashing
Roof valleys handle concentrated runoff from two intersecting roof planes.
During intense Houston thunderstorms, a valley may carry significantly more water than surrounding roof sections. Leaves, pine needles, damaged shingles, corrosion, or displaced metal can interfere with that drainage path.
If valley flashing is punctured, improperly overlapped, or deteriorated, water can move underneath nearby shingles and affect the decking.
4. Missing or Damaged Kickout Flashing
Kickout flashing is installed where a roof-to-wall intersection ends near an eave.
Its job is to direct water away from the wall and into the gutter or away from the siding. Without it, roof runoff may flow directly against siding, trim, or the wall cavity.
That moisture may eventually affect sheathing, house wrap integration, framing, or exterior finishes.
The Trap of “Caulk and Tar” Quick Fixes
One of the most common responses to leaking flashing is adding more silicone, roofing mastic, or plastic cement.
That may slow water temporarily, but it does not necessarily correct the underlying flashing configuration.
Houston roofs are exposed to intense UV radiation and surface temperatures that can exceed 140°F to 150°F during summer conditions. Heat can dry and shrink topical sealants, while sudden Gulf Coast rain produces rapid cooling and differential thermal expansion between metal, shingles, masonry, and wood.
A surface patch can begin cracking or separating again within months.
True flashing repair focuses on restoring the mechanical drainage path. That may require removing surrounding shingles, siding, or previous sealant and correctly reinstalling or replacing the metal.
The goal is to restore water-shedding integrity, not simply cover the visible gap.
Diagnostic Table: Signs of Roof Flashing Problems
| Flashing Location | Visible Warning Sign | Where Water May Appear Inside | Typical Professional Correction |
|---|---|---|---|
| Sidewall | Lifted metal, gaps, loose siding | Attic rafter, wall corner, ceiling edge | Correct step flashing and siding overlap |
| Chimney | Loose counter flashing, deteriorated mortar, rust | Fireplace drywall, attic framing near chimney | Restore apron, step, or counter flashing as needed |
| Valley | Corrosion, debris buildup, damaged shingles | Decking beneath valley or interior ceiling | Clear drainage path and repair or replace damaged valley components |
| Eave-to-Wall | Missing or bent kickout flashing | Lower wall cavity, siding base, trim | Install proper kickout and evaluate wall-water integration |
Because water can travel along rafters, decking, pipes, or wall framing, the location of an interior stain does not always identify the exact entry point.
Frequently Asked Questions
Can you fix a flashing leak from inside the attic?
Usually not properly. An attic inspection can help identify water paths and damaged decking, but the source is generally outside. Correct repair typically requires access to the shingles, metal flashing, siding, chimney, or roof intersection.
How long does metal roof flashing typically last in Texas?
There is no single lifespan. Material type, coating, installation quality, moisture exposure, roof movement, and contact with other materials all affect durability. Galvanized steel, aluminum, and copper also age differently.
Can I use expanding foam or roofing mastic to stop a flashing leak?
These materials may temporarily reduce water entry in certain situations, but they should not replace properly layered flashing. Foam can also trap moisture or make future repairs more difficult if used in the wrong location.
Does repairing roof flashing mean my shingles have to be replaced too?
Not necessarily. Some surrounding shingles may need to be temporarily removed or individually replaced to access the flashing. If the rest of the roof remains serviceable, a targeted repair or Roof Tune-Up may be sufficient.
How does thermal expansion affect roof flashing in Houston?
Metal, wood decking, masonry, and shingles expand and contract at different rates. Repeated heating, cooling, and sudden rainfall can gradually loosen fasteners, separate sealant joints, or move flashing enough to create small openings.
Protecting Your Roof Intersections
Roof flashing problems rarely mean the entire roof needs replacement.
When the surrounding shingles and decking remain in serviceable condition, properly executed roof flashing repair or a professional Roof Tune-Up may correct the vulnerable area and significantly reduce moisture-intrusion risks.
However, accurate diagnosis often requires physically inspecting the shingles, flashing layers, siding or masonry, underlayment, and roof decking.
Repair scope also varies depending on roof accessibility, flashing type, roof slope, siding material such as Hardie, brick, or vinyl, and whether moisture has already damaged the decking or wall structure.
TXN Home Services provides detailed roofline and flashing evaluations throughout Greater Houston and Southeast Texas, including The Woodlands, Katy, Sugar Land, Cypress, Kingwood, Pearland, and surrounding communities.
To schedule a roof inspection, call or text TXN Home Services at 346-460-9199 or visit TXNHomeServices.com.
TXN Home Services
Built to last. Proven to protect.
